Table of Contents
How to Plant a Sprouted Sweet Potato: Introduction
Growing your own sweet potatoes can be a deeply rewarding endeavor, transforming even a novice gardener into a proud producer of these nutritious, versatile tubers. Sweet potatoes, with their rich flavor and myriad health benefits, make a fantastic addition to any garden. Unlike the common potato, sweet potatoes thrive in warmth and can grow in a variety of climates, making them accessible to a wide range of gardeners. This guide will take you through every step of how to plant a sprouted sweet potato, from the initial preparation of the sprouts to the joy of harvest. Whether you’re gardening for sustenance, for fun, or for the environment, sweet potatoes offer a fulfilling journey from soil to table.
Understanding Sweet Potatoes
Sweet potatoes belong to the morning glory family, distinct from the nightshade family to which regular potatoes belong. This warm-weather crop is not only easy to grow but also highly nutritious, packed with vitamin A, vitamin C, manganese, fiber, and potent antioxidants. These nutrients contribute to eye health, immune function, and blood sugar regulation, among other benefits.
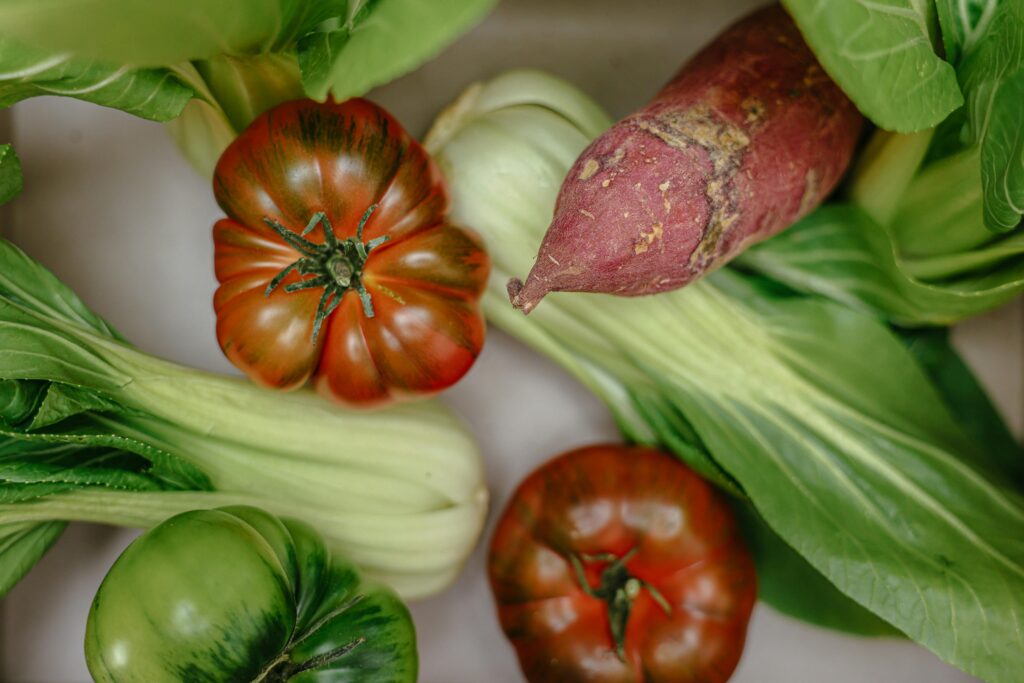
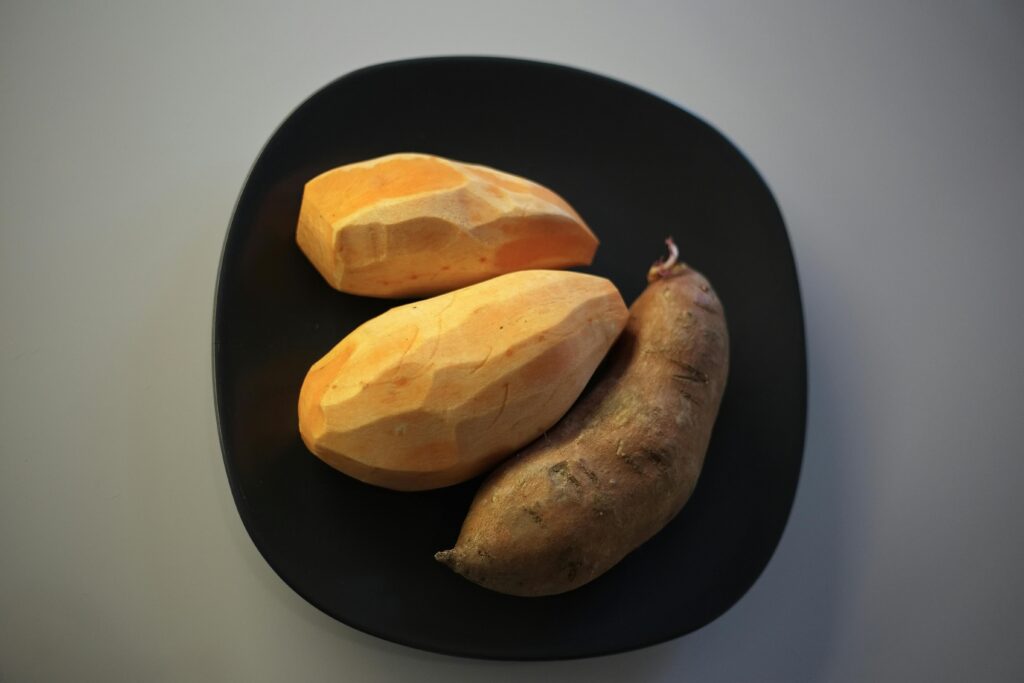
There are several varieties of sweet potatoes, ranging in color from the classic orange to purple, white, and even yellow, each with its own unique taste and texture. The versatility of sweet potatoes in cooking is vast, from baked goods and soups to fries and salads, making them a staple in many cuisines around the world.
Unlike other root vegetables that can tolerate cold weather, sweet potatoes require a long frost-free growing season. Understanding the growth cycle and requirements of how to plant a sprouted sweet potato is crucial for successful cultivation. They are typically grown from slips, which are sprouts that develop from a mature sweet potato. These slips are then planted in the ground or containers to grow into new sweet potatoes.
Getting Started: Plant a Sprouted Sweet Potato
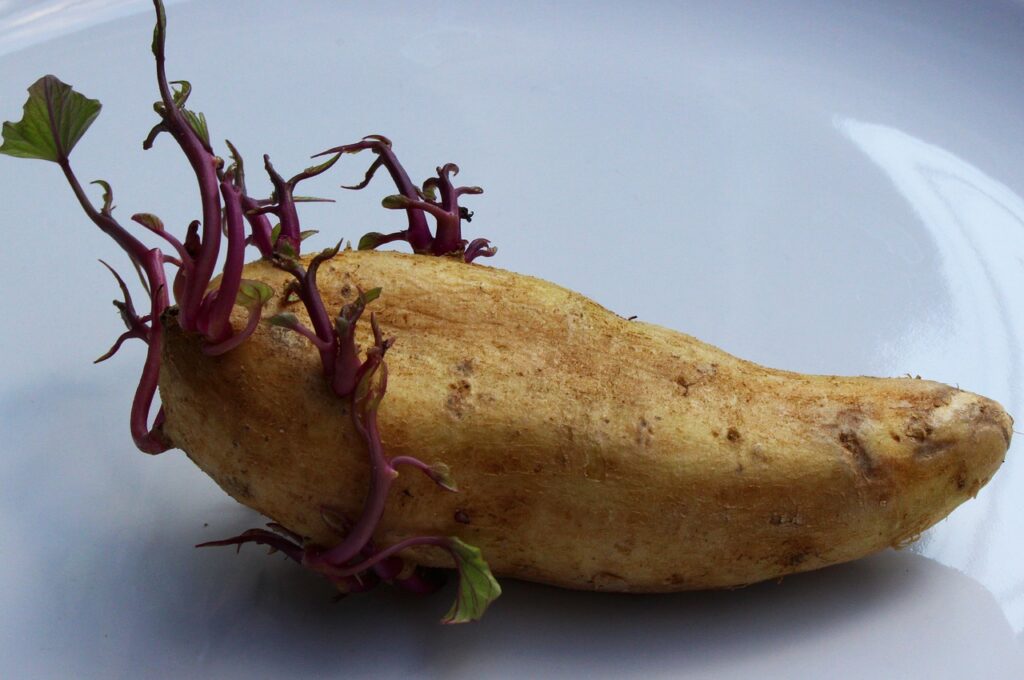
The journey of growing sweet potatoes begins with a process called sprouting or chitting. This involves encouraging a sweet potato to produce shoots, which can help you plant a sprouted sweet potato. There are two main methods for sprouting sweet potatoes: the water method and the soil method.
Water Method
- Select a healthy, organic sweet potato without any signs of damage or decay.
- Cut the sweet potato in half and suspend it using toothpicks over a glass of water, with the cut side partially submerged.
- Place the setup in a warm, well-lit area but out of direct sunlight.
- Change the water every few days to prevent mold or rot.
- Sprouts should begin to appear within a few weeks. Once they are about four to six inches long, they can be gently twisted off and planted.
Soil Method
- Bury the sweet potato in a container filled with moist potting soil, leaving the top exposed.
- Keep the soil consistently moist and place the container in a warm, bright spot.
- Sprouts will emerge from the soil after a few weeks. These can be separated from the sweet potato once they have developed roots.
Both methods are effective, but the water method allows you to observe the sprouting process more closely, while the soil method can potentially produce stronger sprouts ready for planting.
In the next sections, we’ll cover how to prepare your garden for planting, the process of how to plant a sprouted sweet potato itself, and how to care for your sweet potatoes until it’s time to harvest. Each step is crucial in ensuring a bountiful yield of sweet potatoes that are as rewarding to grow as they are to eat.
Preparing for Planting
Once you have your sprouts, or “slips,” ready, the next step is preparing the planting site for your sweet potatoes. This preparation is critical to ensure your plants have the best possible environment to thrive and produce a generous yield.
Choosing the Right Location: Sweet potatoes require full sun, meaning at least six hours of direct sunlight daily. When you plant a sprouted sweet potato, make sure to choose a spot in your garden that receives ample sunlight throughout the day. This warmth-loving crop also benefits from heat, so a south-facing location can provide an extra boost in cooler climates.
Soil Preparation: Sweet potatoes prefer well-drained, loamy soil with a pH between 5.5 and 6.5. If your soil is heavy clay, consider raising the beds or incorporating plenty of compost to improve drainage and texture. A couple of weeks before planting, work in a generous amount of well-rotted compost or manure to enrich the soil with nutrients.
When to Plant: Timing is crucial when planting sweet potatoes. They should be planted after the danger of frost has passed and the soil has warmed to at least 60°F (15°C). In most regions, this typically means planting in late spring or early summer. Sweet potatoes require a long growing season (about 100 to 150 days frost-free), so consider your local climate when planning your planting schedule.
How to Plant a Sprouted Sweet Potato
With your garden bed prepared, it’s time for you to plant a sprouted sweet potato slip. These slips should have roots or be starting to develop them. If they don’t yet have roots, you can place them in a shallow dish of water for a few days to encourage root growth before planting.
Separating Sprouts from the Sweet Potato: Gently twist each sprout off the sweet potato, ensuring each slip has several leaves and a good set of roots. If you used the soil method, you might be able to lift the whole potato and gently pull the slips from the tuber.
Planting in the Ground vs. Containers:
- In the Ground: Dig holes about 6 inches deep and 12 inches apart in rows that are at least 3 feet apart. Plant the slips deep enough to cover the roots and the bottom inch of the stem. Backfill the hole with soil and gently press down. Water thoroughly after planting.
- In Containers: Choose a large container with drainage holes and fill it with a mix of potting soil and compost. Plant slips similarly to how you would in the ground, ensuring the container is large enough to accommodate the growing roots without crowding.
Proper Planting Technique: Water the slips well before and after planting to ensure they are hydrated. Mulching around the plants can help retain moisture, suppress weeds, and keep the soil warm. Use straw, shredded leaves, or black plastic mulch to achieve these benefits.
Care and Maintenance
After you plant a sprouted sweet potato, your potatoes will need regular care and attention to ensure they grow healthy and strong.
Watering Requirements: Sweet potatoes like consistent moisture, especially during the early stages of growth and when tubers start to form. Aim for about 1 inch of water per week, whether from rainfall or irrigation. Avoid overwatering, as sweet potatoes are susceptible to root rot.
Fertilizing: When you plant a sprouted sweet potato, it doesn’t require a lot of fertilizer if planted in rich soil. However, applying a balanced organic fertilizer or compost tea a few weeks after planting can encourage healthy growth. Avoid high-nitrogen fertilizers, which can promote foliage growth at the expense of tuber development.
Pest and Disease Management: Monitor your plants regularly for signs of pests or diseases. Common issues include sweet potato weevils, slugs, and fungal diseases like black rot. Use organic pest control methods where possible, such as neem oil for insects and proper crop rotation to prevent disease buildup in the soil.
Mulching: Mulching is beneficial for maintaining soil moisture, regulating soil temperature, and controlling weeds. Organic mulches also gradually break down, adding nutrients back into the soil.
In the next section, we’ll discuss the exciting phase of harvesting your sweet potatoes and how to store them properly for long-term use. The care you’ve given your plants will soon pay off with a bountiful harvest.
Harvesting and Storage
The anticipation builds as the growing season progresses, culminating in the exciting moment when it’s time to harvest your sweet potatoes. Knowing when and how to harvest, followed by proper curing and storage, will ensure you enjoy the fruits of your labor for months to come.
When to Harvest: Sweet potatoes are typically ready for harvest just before the first fall frost, approximately 100 to 150 days after planting, depending on the variety. The leaves and vines will start to yellow as the tubers mature. Another sign is the size of the tubers; you can gently unearth the top portion of a sweet potato to check its size. If it’s large enough to eat, it’s likely a good time to harvest.
How to Harvest: Harvesting sweet potatoes requires care to avoid damaging the tubers. Use a spade fork to gently loosen the soil around the plants, starting a few inches away from the base to prevent accidentally slicing into the tubers. Lift the tubers out of the soil, shaking off any excess dirt. Avoid washing them, as moisture can promote rot during storage.
Curing Sweet Potatoes: Curing is an essential step to heal any scratches on the tubers and to enhance their sweetness by converting starches into sugars. To cure sweet potatoes:
- Place them in a warm (about 85°F or 29°C), humid (85-90% humidity) environment for about 10 days. An insulated garage, a greenhouse, or a covered porch in warmer climates can work well.
- Ensure good air circulation around the tubers during the curing process.
Storage: After curing, move the sweet potatoes to a cool (about 55-60°F or 13-15°C), dark place for long-term storage. A basement or root cellar is ideal. Store them in a single layer or in breathable containers like wooden crates or baskets to prevent moisture accumulation and allow air circulation. Properly stored sweet potatoes can last for several months.
Do you know you can grow a lot of fresh and organic food using the hydroponic farming method?
Conclusion
How to plant a sprouted sweet potato? It is a journey that offers more than just the reward of harvesting. It’s an opportunity to connect with the earth, understand the cycle of growth, and contribute to your own sustenance in a sustainable way. Throughout each phase—sprouting, planting, caring, and harvesting—you engage in a process that is as ancient as agriculture itself, yet remains a fulfilling adventure for modern gardeners.
This guide has walked you through each step in detail, providing the knowledge and confidence on how to plant a sprouted sweet potato in your own garden. Whether you’re a seasoned gardener or a curious newcomer, the experience of planting and nurturing these tubers is sure to enrich your gardening journey and your table. As you enjoy the delicious, nutritious bounty of your harvest, you’ll appreciate the simple joy that comes from growing sweet potatoes from sprout to harvest. Happy gardening!